You are hereHome / Arduino Projects / Project Page: Sound Meter
Project Page: Sound Meter
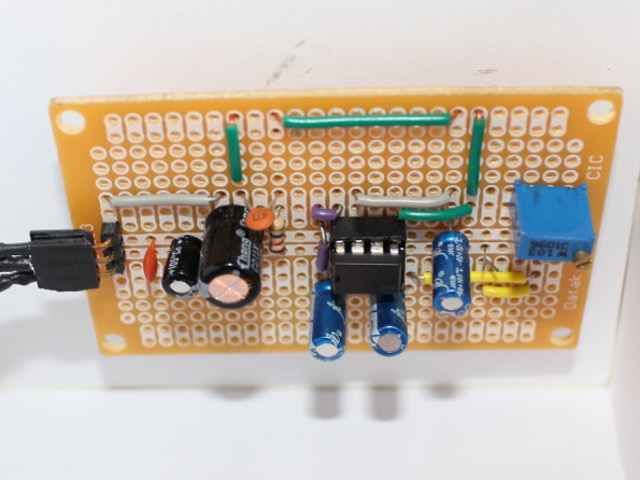
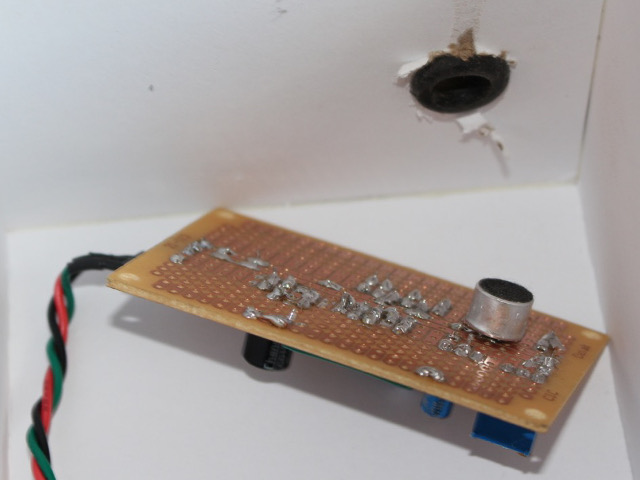
Mic and Amp
This project began with a discussion about a proposed project a friend had in mind. It would measure ambient audio level and light up a sign when it got too loud, shushing co-workers.

I instinctively advised using an electret microphone and an aimplifier built around a LM386 audio amplifier IC. Having built amplifiers in the past, I thought it would d be simple. I was in for an education.
Building an amplifier and hooking it up to a speaker is one thing. Hooking the circuit up to a microcontroller and trying to make sense of the output is another. Louder noise means increasingly higher values, common sense says.
After floundering some with the microphone (turns out they’re polarized) reading the output and trying to turn it into an audio level was a lesson in frustration. I even put the LM386 circuit aside and built a second amp around a TLC272 op amp.
Reading the Waves
What finally soaked in after much searching and reading is that audio is AC, not DC. As someone who has seen plenty of audio
waveforms I might have realized that sooner. Look at a waveform and you’ll see that the vertical lines representing sound extend above and below the horizontal line. The louder the sound the greater the distance from the center on both sides, not just the upper. Measuring the distance between the highest and lowest points will give you the sound level.
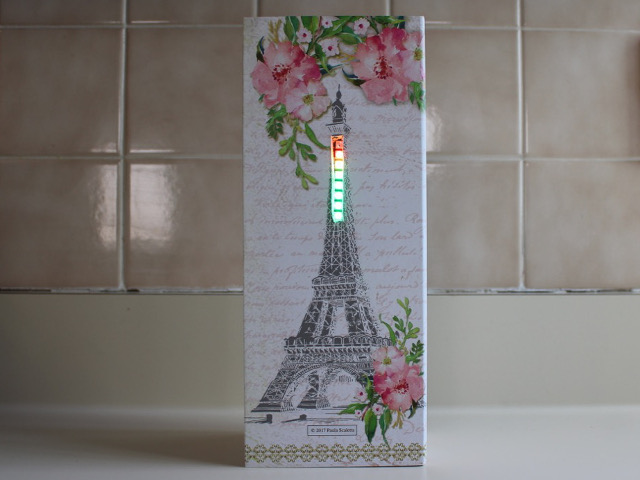
Once I knew how to properly read the audio levels the project was fairly easy. I had a stick of 8 Neo Pixels and decided to use it as a light meter just to show that I can measure the audio level. My circuit would not be the way to go if all I wanted was an audio meter, there are dedicated chips for that. It turned out that Neo Pixels were not the best choice since they cause a lot of electrical noise and

need their own power supply. The Neo Pixel stick is mounted vertically and the lower six LEDs light up green, the next one yellow and the top two red, of course the number actually on at a given time depends on the ambient audio level. It took some trial and error to determine the values that trigger each LED but it worked well in the end.
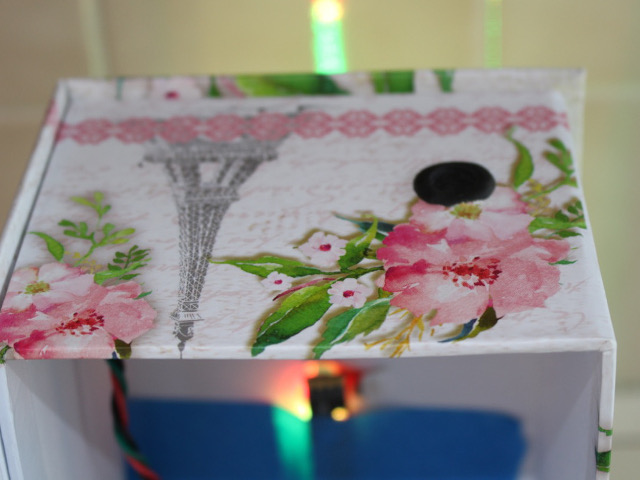
To house the project I found a nice cardboard box with an image of the Eiffel Tower, which is located in the City of Light. The upper part of the tower is about the width of an 8 LED stick of Neo Pixels. Now the tower lights when the music gets loud.
Despite all the frustrating time I spent building the circuit and trying to figure it out, I'm happy to have taken this project on. I learned how to work with electret mics and to make sense of raw audio level readings.