You are hereHome / Arduino Projects / Project Page: MIDI Controller
Project Page: MIDI Controller
Exhibit Overkill
There is an exhibit at a children’s museum that consists of about seven structures, each of which plays a piano note.. A hand Is placed over a hole in the enclosure to sound the note and turn on some RGB LEDs. The technology used for the exhibit is really over complicated and I started thinking about how I would have built it.
The exhibit in question used a Leap Motion connected to a Windows computer to detect the presence of a hand. When it senses a hand is over the hole a sound file stored on the computer hard drive is played . A Leap Motion is meant to be used as an input

device. It’s true power is mapping digits in 3D space and recognizing gestures. For this application it’s not just overkill but inappropriate. Proper lighting is important and this exhibit sits in a place where there is a mixture of artificial and natural light. The Windows computer is inappropriate because, well, it’s a Windows computer.
For my small prototype I used an ultrasonic distance sensor, a device that is meant to do nothing but determine how close an object is to it. It works by sound waves, so lighting conditions are irrelevant.
Sound was played by sending MIDI commands to Garage Band on a MAC. Playing sounds using MIDI meant that any instrument in Garage Band could be used, it did not have to be a piano. This proof-of-concept worked well but it seemed a shame to only play one note. The next iteration used an 8 pad capacitance touch panel to play multiple notes and added a pressure sensor to control volume.
The second prototype was an improvement but it still included the complexity of a computer.
I really wanted to create an Arduino project that would communicate with an off-the-shelf piece of MIDI gear, thus the journey toward making this project began.
Diving Into MIDI
I knew that MIDI existed and probably could have described it in vague terms but, not being a musician, I had no knowledge at the nuts and bolts level of hooking up equipment. Initial research showed that there are MIDI modules,
sequencers, controllers and instruments. The latter seems the most self explanatory except that sometimes instruments are also controllers. Although I was not totally confident I was pretty certain that a MIDI module was what I needed to hook up to my Arduino, which would act as a MIDI controller.
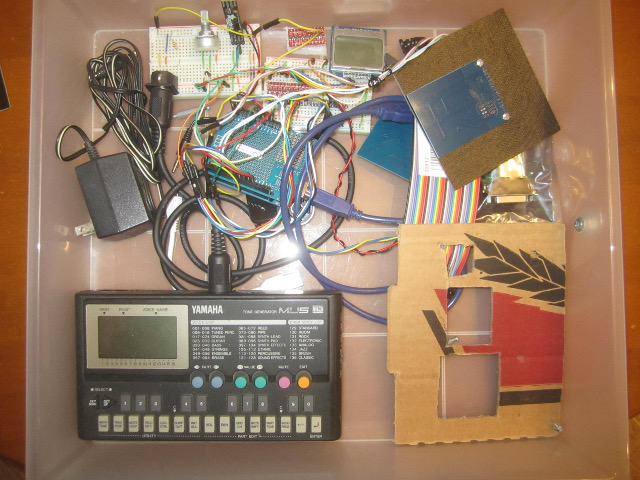
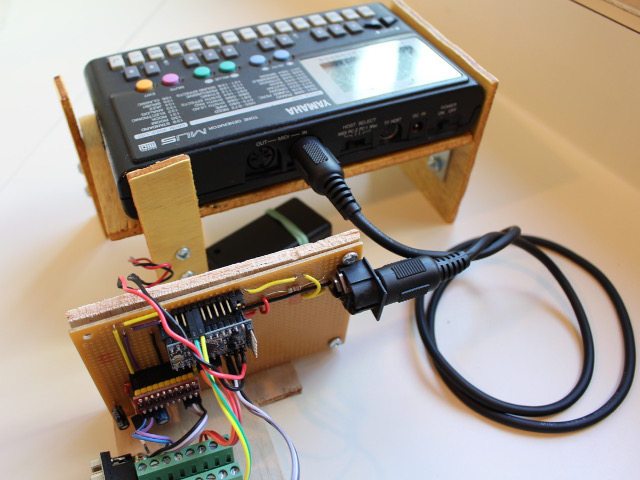
Off to eBay I went and managed to score a Yamaha MU5 MIDI controller of 1994 vintage. Interestingly, the owner’s manual describes this device as a “Tone Generator”, but I’m pretty sure it's a MIDI module. The MU5 is great for this application because it is small, simple to use and will run on AA batteries or AC. With the MU5 hooked up to a breadboard, using a MIDI jack and cable I confirmed that it was possible to change instruments and play notes with commands from the Arduino.
For features I wanted my controller to allow a person to play notes, change instruments and control the volume. I decided to stick with capacitive touch
pads for the note keys but wanted to up my game and got a sixteen pad module , which is eight better.
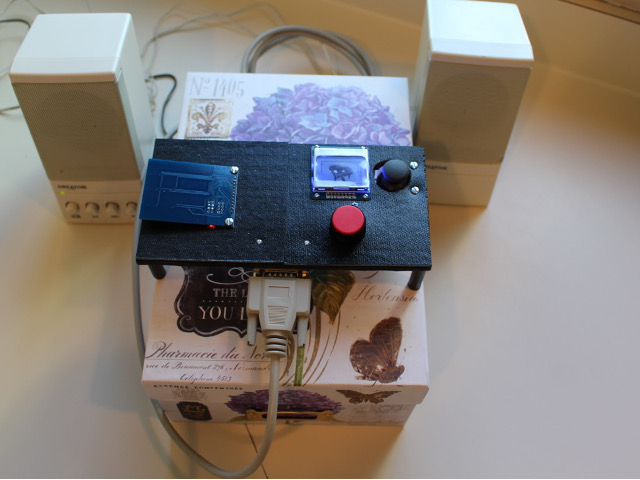
I also had a small joystick on hand and decided that it would be a good control for selecting instruments. MIDI instruments are divided into eight instrument families, with eight instruments in e ach family. For example, the Reed famly consist of the instruments Soprano Sax, Alto Sax, Tenor Sax, Baritone Sax, Oboe, English Horn, Bassoon and Clarinet.
![]()
Joystick left and right moves through an instrument family, up and down changes instrument. A Nokia 1510 display shows an icon of the selected instrument family. To create the icons I used a nice pieces of software called LCD Assistant
that allows one to trace the pattern and then print out the byte values to use in an array on the Arduino.
Hooking It All Up
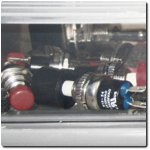
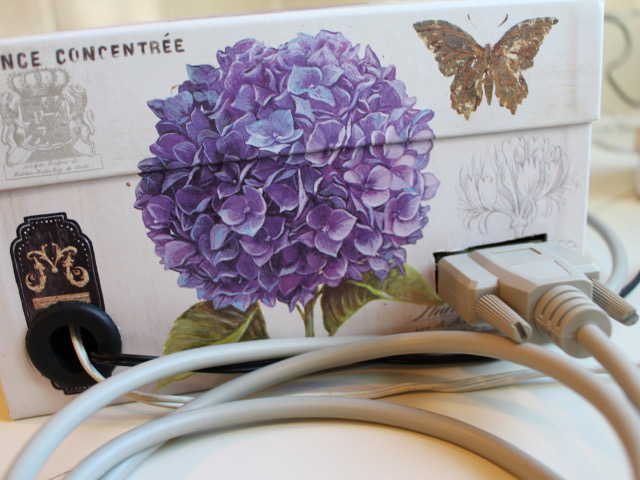
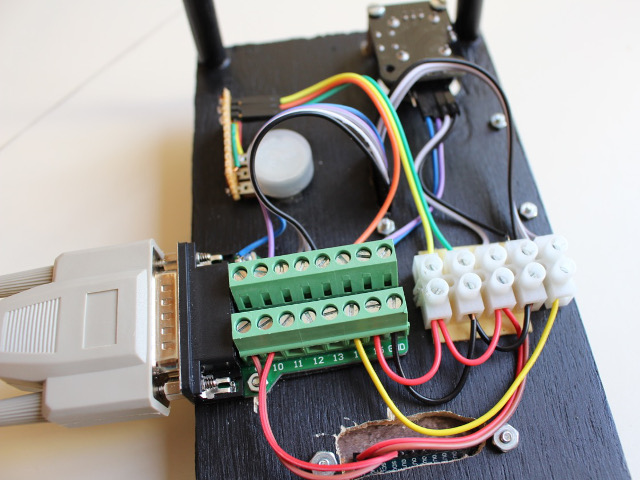
One of the challenges was how to run power and signal wires between the Arduino and the hand held controller. I really wanted to use some sort of standard cable instead of trying to build a wire harness and thought I might find some connectors with solder pins. What I ended up getting is even better, DB15 connectors with screw terminals. These connectors make everything easy to hook up at both ends and I can use off-the-shelf cables of varying lengths.
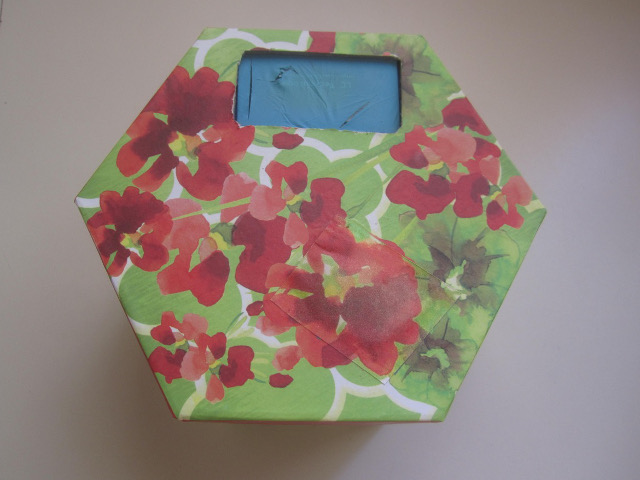
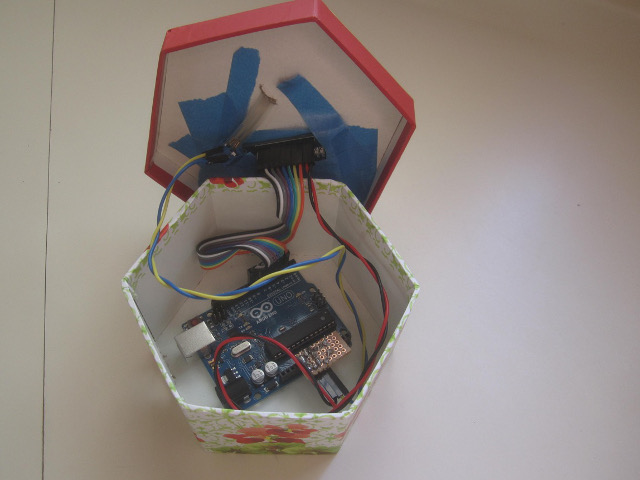
The enclosure for this project is a sturdy cardboard box from a craft store.
I built a small stand out of plywood to hold the MU5 with space underneath to store the MIDI and DB15 cables. Two pieces of plywood are glued together in a “L” shape to hold the circuit board and DB15 connector. Mounted on the circuit board is the MIDI jack, Arduino Pro Mini and logic level converters necessary for the display. The controller board slides in across from the MU5 so everything can be easily transported.
It was fun learning the rudiments of MIDI and creating something that ineracts with a device made long before the Arduino came into existence. Looking at the finished product and how it came to be I am pleased with the progression from being able to play a single note to multiple notes with volume to all the General MIDI instrumets. I especially like how the equipment stores neatly in the box and the ease of connection that the DB15 connectors afford. If there is a next version I would like to make a more ergonomic hand held controller.